Richard III: Discovery and identification
Identifying clues to the position and orientation of the buildings
Sunday 26 August
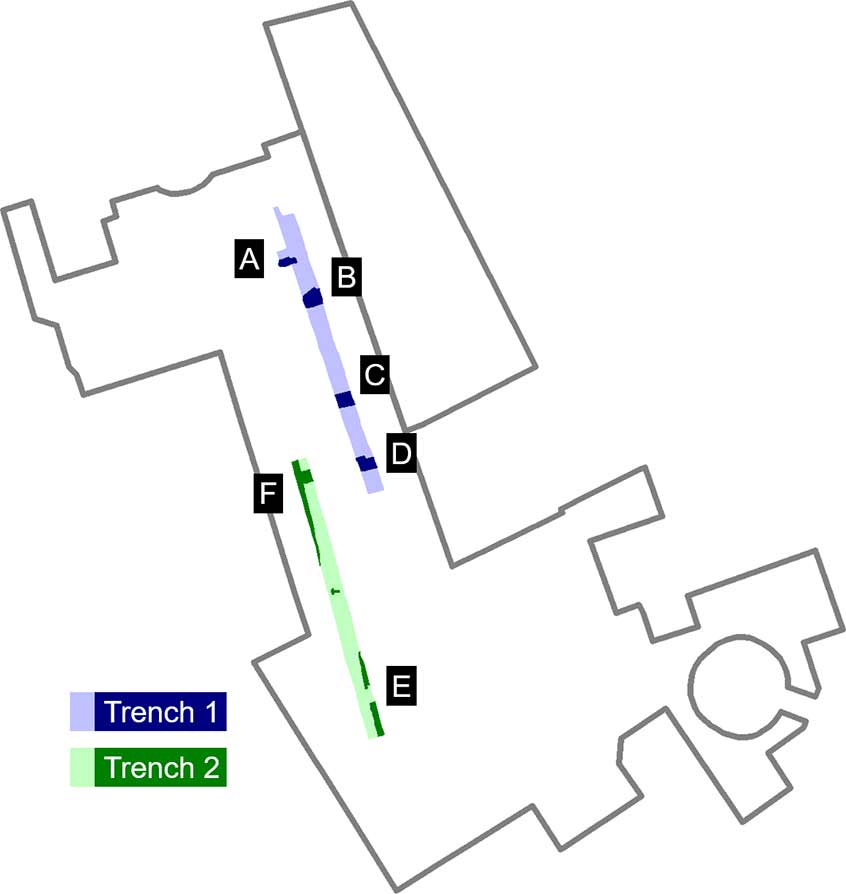
Trench 1 was completed, revealing a second robbed wall (D), running parallel with C. Unfortunately, the presence of a live electrical cable running over the top of it made it impossible to investigate further with the digger.
Trench 2 was dug, also 30m long, parallel to Trench 1 and overlapping it by a short distance. At the southern end were the remains of a north-south orientated stone wall (E); at the northern end was a second, parallel north–south robbed wall (F), joined at right angles to a continuation of wall D. The space between E and F was relatively narrow (c. 2m wide), suggesting a corridor or two buildings built close to one another. More rubble masked the medieval archaeology, leaving it unclear which idea was correct until the building debris could be removed.
Medieval archaeology
Monday 27 to Friday 31 August
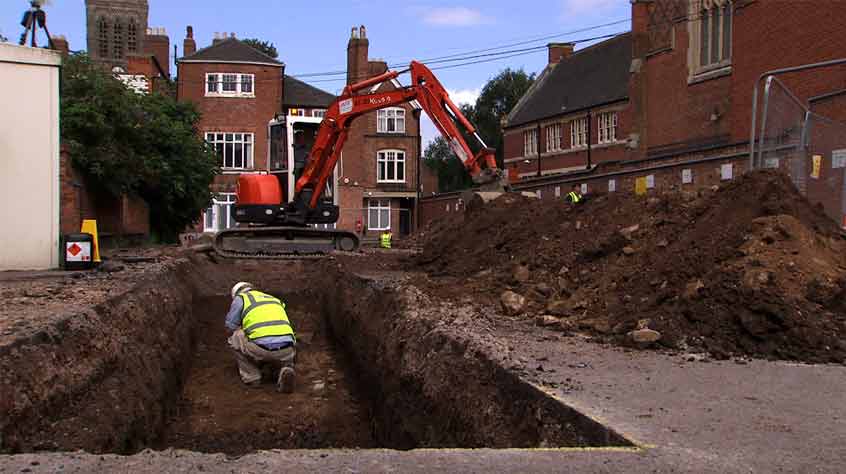
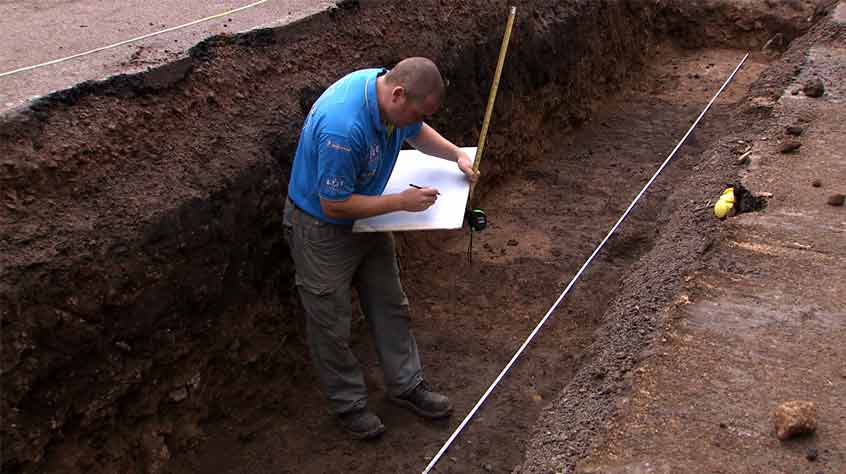
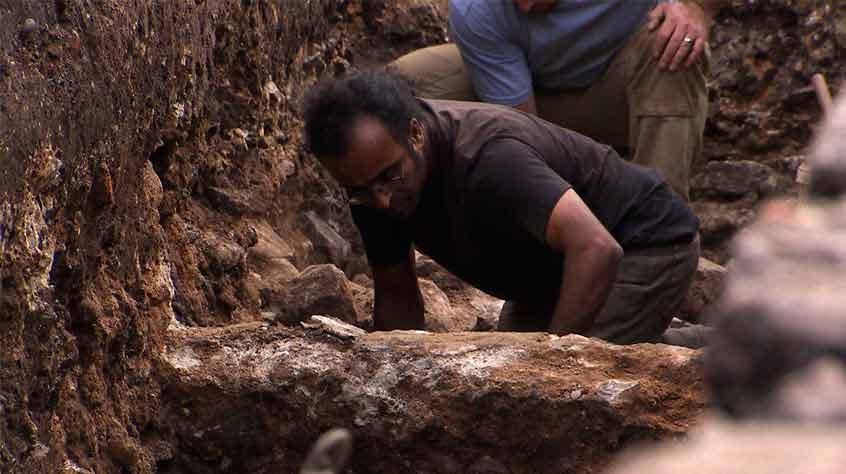
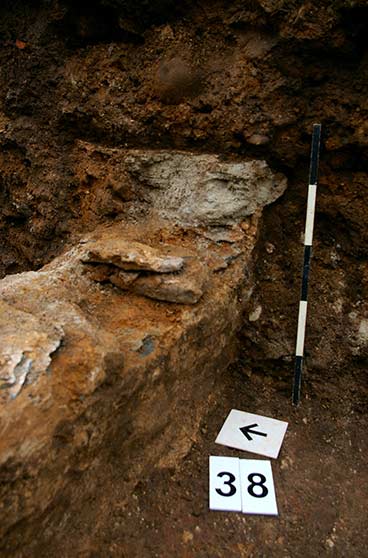
Throughout the week, the archaeologists carefully removed dumps of building rubble left behind when the friary was demolished, exposing the medieval buildings beneath. These remains were planned, recorded and photographed, and features of particular interest were excavated to learn more about the friary.
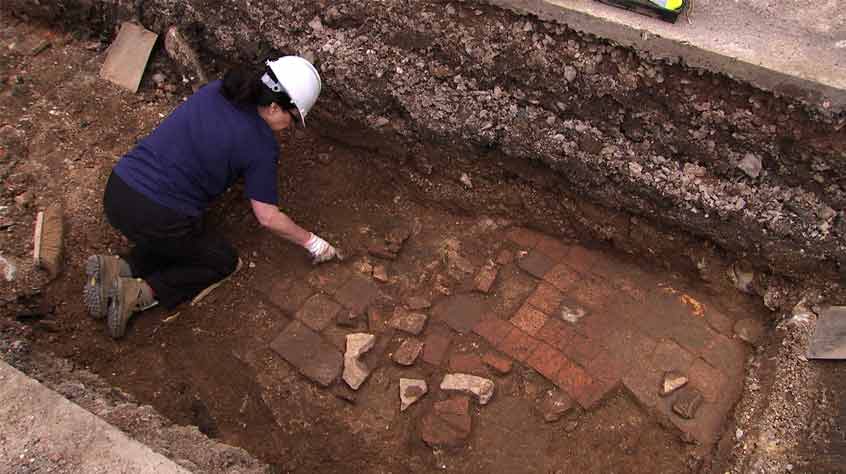
In Trench 2, rubble was removed from between walls E and F, exposing the bedding for a tiled floor that stepped down from south to north. Tile impressions could still be seen in the mortar, providing clues to how the floor would have once looked. Part of a stone step survived. At the southern end of the trench, wall E was found to survive partially intact above floor level, a rare discovery in Leicester. The remains of a doorway were found, leading through it from west to east.
It appeared that Trench 2 had, by chance, been dug along a long north/south corridor. Could the space between E and F represent one of the friary’s cloister walks? If so, was it on the western or eastern side of the square courtyard or ‘cloister garth’.
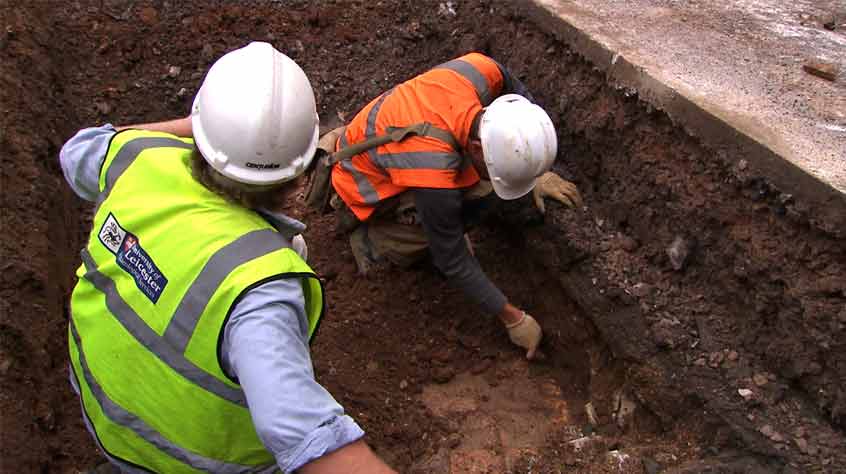
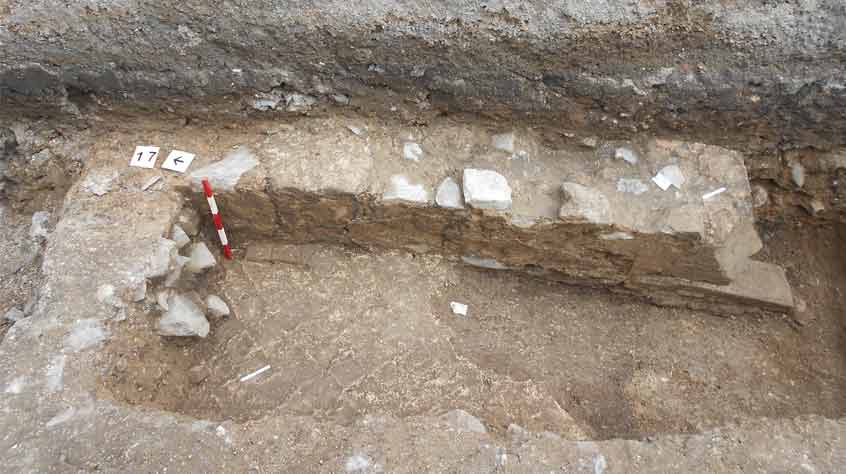
Back in Trench 1, archaeologists discovered that the surviving low stone wall at C had a flat top with a curving ‘bullnose’ lip on one side and no foundation. It looked like a bench built up against the north (robbed) wall of the building. Keyhole investigation of robbed wall D – carefully avoiding the live cable! – found a second ‘bench’. Between the two was evidence for floor tiling.
The benches were a major breakthrough, providing an important clue to which part of the friary had been found: this was a place where people could sit facing each other and talk. In a medieval friary, that would be the chapter house, which normally projected from the eastern side of a cloister, making the corridor or building joining it in Trench 2 part of the eastern cloister walk or east range.
Objective 2 achieved: parts of the friary identified. Our next task was to locate the church within the friary.