Training guides
Optimising images
Images should be cropped and compressed before they are uploaded to Sitecore. Our Media Library is vast, so unnecessary additions, or larger than necessary files can have an impact on page load speed times and data sustainability; which can then impact SEO and accessibility.
You have access to any image in the Media Library, so if you would like to use a generic image which already exists in the library, email webupdates@le.ac.uk and we can advise where you can find the image.
Learn more about image dimensions
- Make sure you have Adobe Photoshop downloaded (it can be found in the Software Centre on your PC)
- Select 'File'
- Select 'Open' and then select the image from your library you wish to optimise
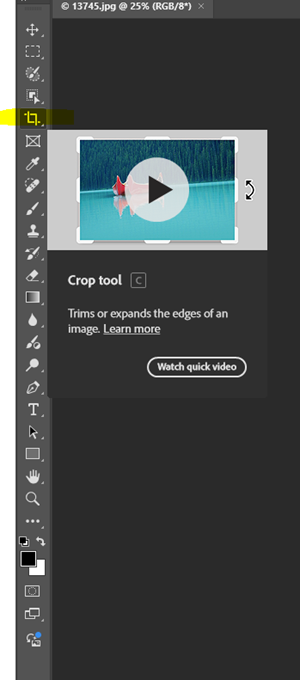
- Once the image has been selected and has appeared in Photoshop, select the crop tool in the menu on the left.
- Enter the dimensions in the boxes to the right of the 'Ratio' dropdown in the menu at the top of the screen. The first box to the right of the dropdown is 'width' and the next one along is 'height'.
- Click the 'tick' further along the menu bar to save the changes.
- Learn more about dimensions for images used in Sitecore.

Compressing the image
It is important to compress the image, as this will rarely impact the quality of the image, but means less room is taken up in the Media Library. This should impact load speed times for your page in a positive way, which can also impact SEO positively.
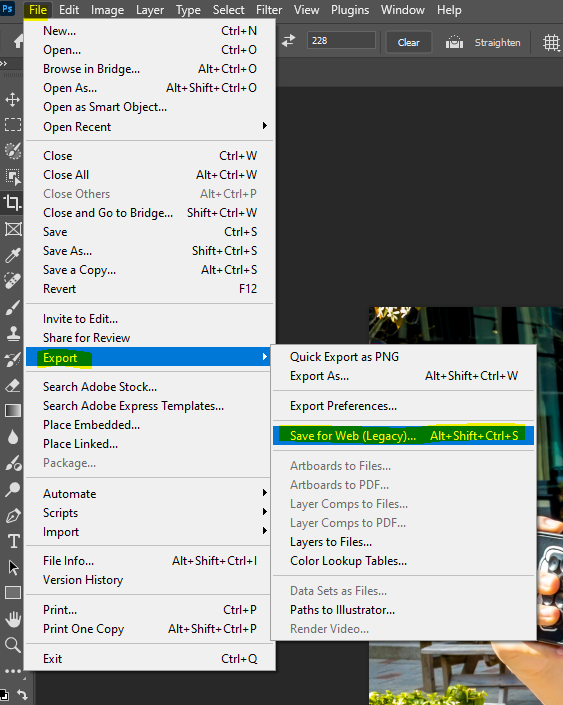
- Once you have set the dimensions, select 'File' and then hover over 'Export'. Then select 'Save for Web (Legacy)'
- This will open up a new window. Select the following settings:
- Select '2-Up' towards the top of the window. This will show the original image at the top, and the one you are currently cropping. You can easily compare the two images for quality to see if compressing the image has affected it.
- Set the preset (in the top right corner of the window) as 'JPEG High'.
- Re-enter the width and height of the image in the fields in the bottom right of the window.
- Make sure you are happy with the quality of the bottom image.
- You can see in the bottom left corner of the bottom image, what the size of the file is now it has been compressed.
- Then select 'Save' in the bottom right of the window
